Your Cart is Empty
Pipe smoking is a great way to enjoy some relaxing free time. Smoking a pipe is not something that is only for older folks. It is a hobby that is being picked up by many people of all ages all across the world. Learning how to properly pack a pipe with tobacco and then learning to properly light it can be challenging experiences for those new to pipe smoking. A mistake made in either step can drastically change the enjoyment of the smoking experience. There are two different methods for lighting a pipe. One is to use lighters and the other uses matches.
Successfully lighting your pipe requires three distinct stages. The first two stages of lighting your pipe are known as “false lights.” The first two stages will predict how well your pipe tobacco will burn in the third and final stage of lighting.
After your pipe has been properly packed, you will be ready to light your pipe. You will first need to prepare your lighter. The best type of lighter to use is a butane lighter. Butane provides a nice even burn and does not smell or cause the pipe tobacco to taste funny. Avoid using a torch lighter as this can damage the rim and bowl of your pipe. Ignite the flame of your lighter.

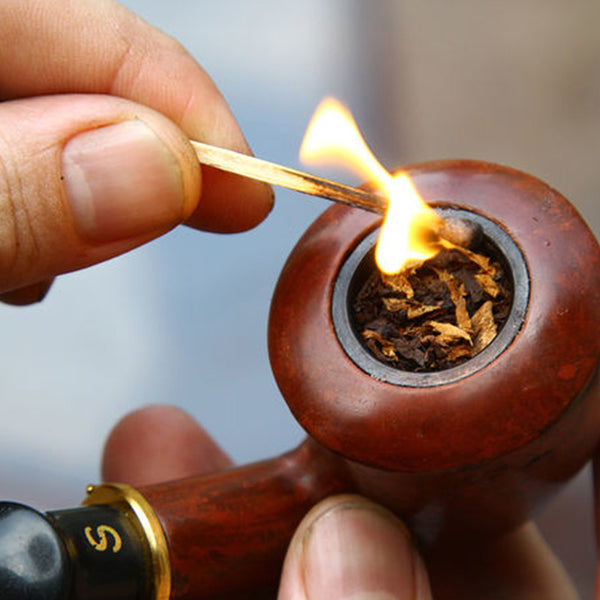
Take the lighter and very slowly pass it over the top of the tobacco in the pipe bowl. While you are running the lighter over the tobacco begin to puff on the pipe. This will cause the top layer of tobacco to become charred and it will come up to the top of the pipe bowl. Give the tobacco a few moments to go out and then use a pipe tamper to tamp the risen charred tobacco. Do this whole process over again to create another layer of charred tobacco.

Now it is time for the last lighting stage. Ignite your lighter once again and pass it in on top of the tobacco in a circular movement and continue puffing on the pipe. Keep doing this until the entire third top layer is lit. This should complete the pipe lighting process. Carefully douse the lighter flame and keep your pipe tools and accessories close by, including the tamper. You may need to repeat this step of the process if the pipe does not stay lit.
Photo credit: http://pt.wikihow.com/Fumar-um-Cachimbo and http://www.thescop.com/2011/06/pashminas-and-pipes/
While enjoying a premium, hand rolled cigar, how often do you actually think about the process of creating cigars or the tobacco plant itself? Probably not often. Also, how many cigar smokers have actually had an opportunity to visit a tobacco farm to see the rows upon rows of tobacco plants? A small percentage of […]
Welcome to the first ever CH infographic! This first one is a quick reference guide to cigar wrappers. Let us know what you think. Embed code (please be sure to convert quotation marks from curly quotes to straight quotes): <a href=” http://www.cheaphumidors.com/blog/infographics/infographic-cigar-wrapper-classifications/”><img src=” http://www.cheaphumidors.com/blog/wp-content/uploads/2012/05/Wrapper-Classification2.jpg ” alt=” Cigar Wrapper Classifications – Infographic ” title=” Cigar Wrapper […]
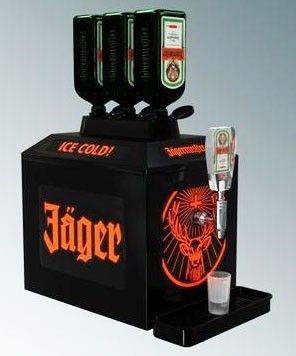
CheapHumidors would like to welcome you to a brand new section of our blog. Shaken, Not Stirred will cover all topics beer, wine and liquor related. CH would like to thank guest author Stan Schubridge at Beertaps.com for kicking things off! Jägermeister actually started out as anything but the drink we know today. The term was introduced in […]